
How to Swap Switches on a Hot-Swappable Mechanical Keyboard
What switches and hot-swap sockets are, linear versus tactile versus clicky, 3-pin versus 5-pin, and how to swap switches safely on a hot-swappable keyboard.
 Mohammad Shojib AhmedUpdated · 7 min read · 86K views
 3:28 video
Key takeaway
Grip both clips with the puller, pull straight up, and line up both pins before pressing a new switch in.
Hot-swappable keyboards let you change switches without soldering, whether you want to fix a dead key or try a completely different feel. It takes a couple of minutes per key once you know the trick. I am using a Keychron C1, but the method is the same on most hot-swap boards.
What a switch is, and what hot-swap means
Under every keycap on a mechanical keyboard sits a small mechanism called a switch. It decides how a key feels and sounds when you press it. On a normal keyboard, the switches are soldered to the circuit board, so changing them means melting solder.
A hot-swap keyboard has small sockets instead of solder. The switch's two metal pins simply push into those sockets, so you can pull a switch out and push a new one in with a cheap tool. "Hot-swap" just means it is designed to be swapped easily.
The three common switch types
- Linear: smooth all the way down, with no bump. Popular for gaming. Red switches are usually linear.
- Tactile: a small bump you can feel when the key registers. Good for typing. Brown switches are usually tactile.
- Clicky: a bump plus a loud click. Satisfying, but noisy in shared rooms. Blue switches are usually clicky.
Colors are a rough guide only. Different brands tune their switches differently, so read the description before you buy.
What you need
- A keycap puller and a switch puller. They usually come with the keyboard.
- Replacement switches with a pin type your board supports.
3-pin or 5-pin? Check before you buy
Every switch has two metal pins. A 3-pin switch also has one plastic post in the middle. A 5-pin switch has two extra plastic legs that help keep it straight. A 5-pin board has holes for those legs and accepts both types. A 3-pin board has no holes for the extra legs, so 5-pin switches will not fit unless you carefully clip those two plastic legs off. Your keyboard's product page tells you which type it supports.
Step 1: Remove the keycap
Hook the keycap puller under opposite edges of the cap and pull straight up. Wiggle gently if it is tight. Larger keys, such as the space bar and Shift, have metal stabilizers underneath, so go slowly with those and leave them for last if you are new to this.
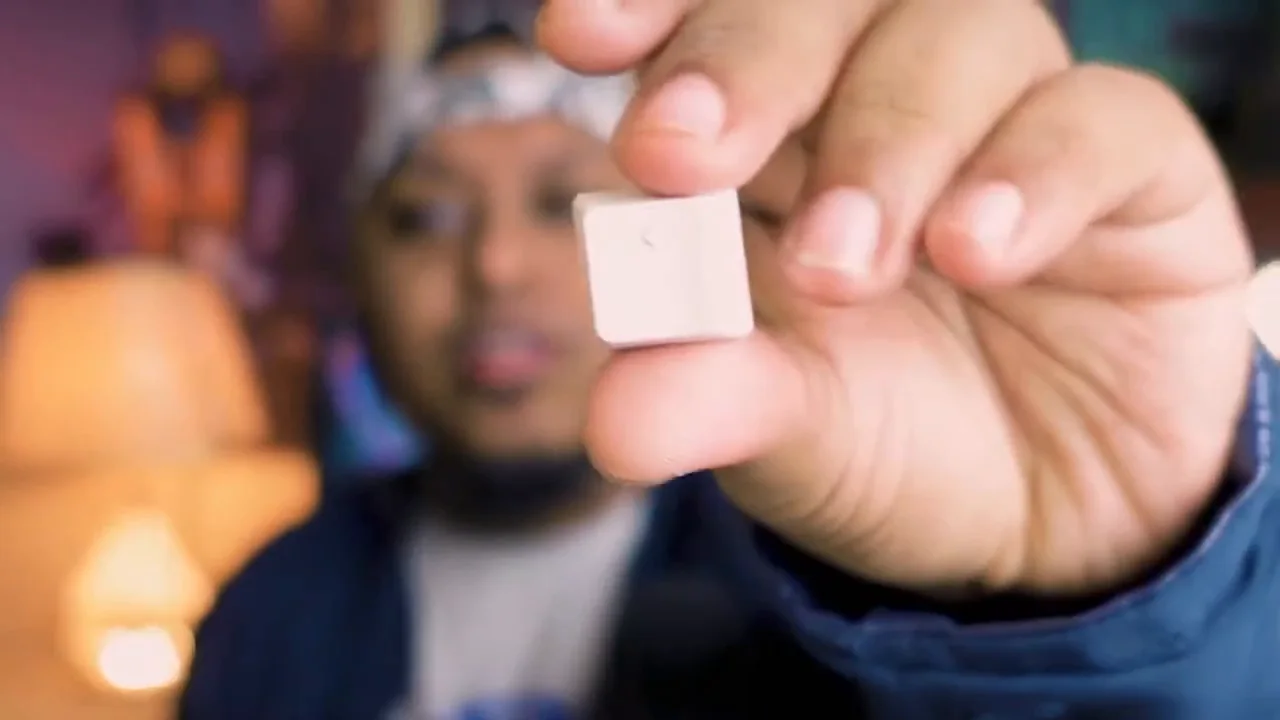
From my video at 0:14: A keycap removed from the Keychron C1.
Step 2: Pull the switch
- Place the switch puller so its two prongs press on the clips at the top and bottom of the switch.
- Squeeze to release both clips.
- Pull straight up. A switch that has never been removed may need extra force. Keep it straight so the pins do not bend.
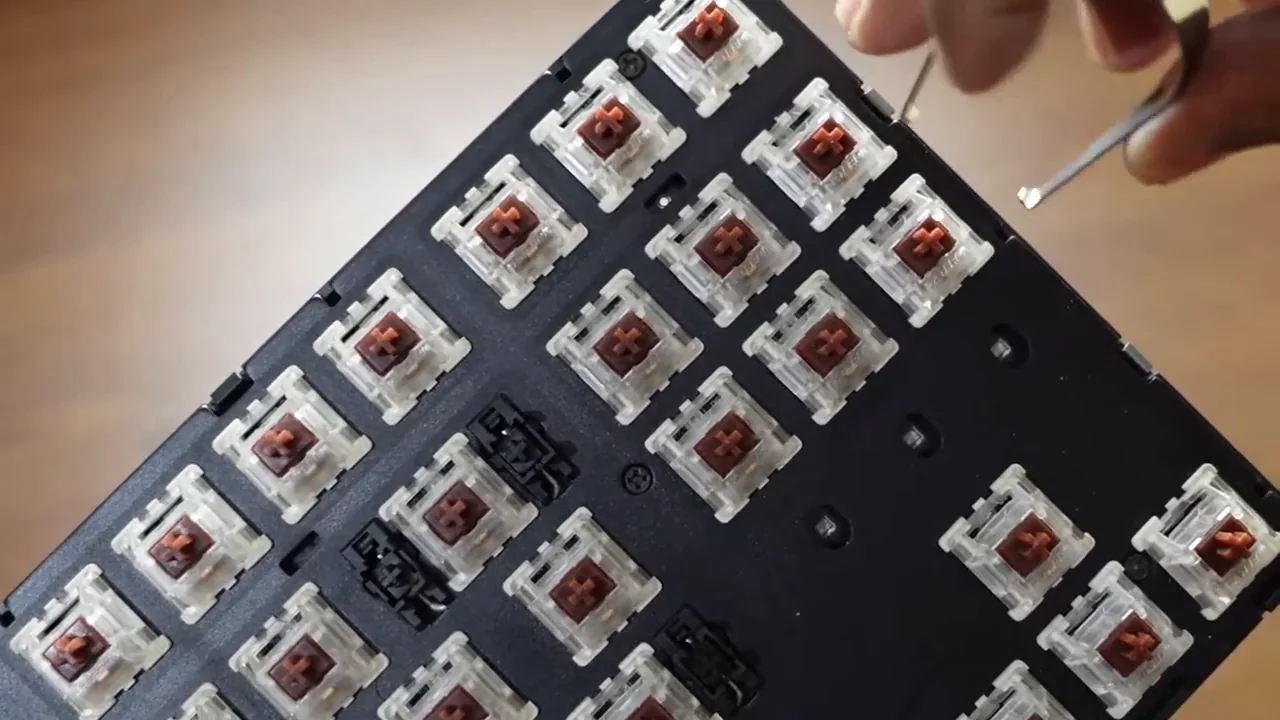
From my video at 1:22: Pulling a switch with the switch puller.
Step 3: Fit the new switch
- Check both metal pins are straight. Bend a crooked one back carefully with tweezers.
- Line the pins up with the two holes in the socket. Most switches have their pins near the top of the keyboard, but check the hole positions on your board.
- Press straight down until the switch clicks into the plate.
- Refit the keycap and test the key.
Tip: If a key does not register after swapping, a pin is probably bent under the switch. Pull it, straighten the pin and try again.
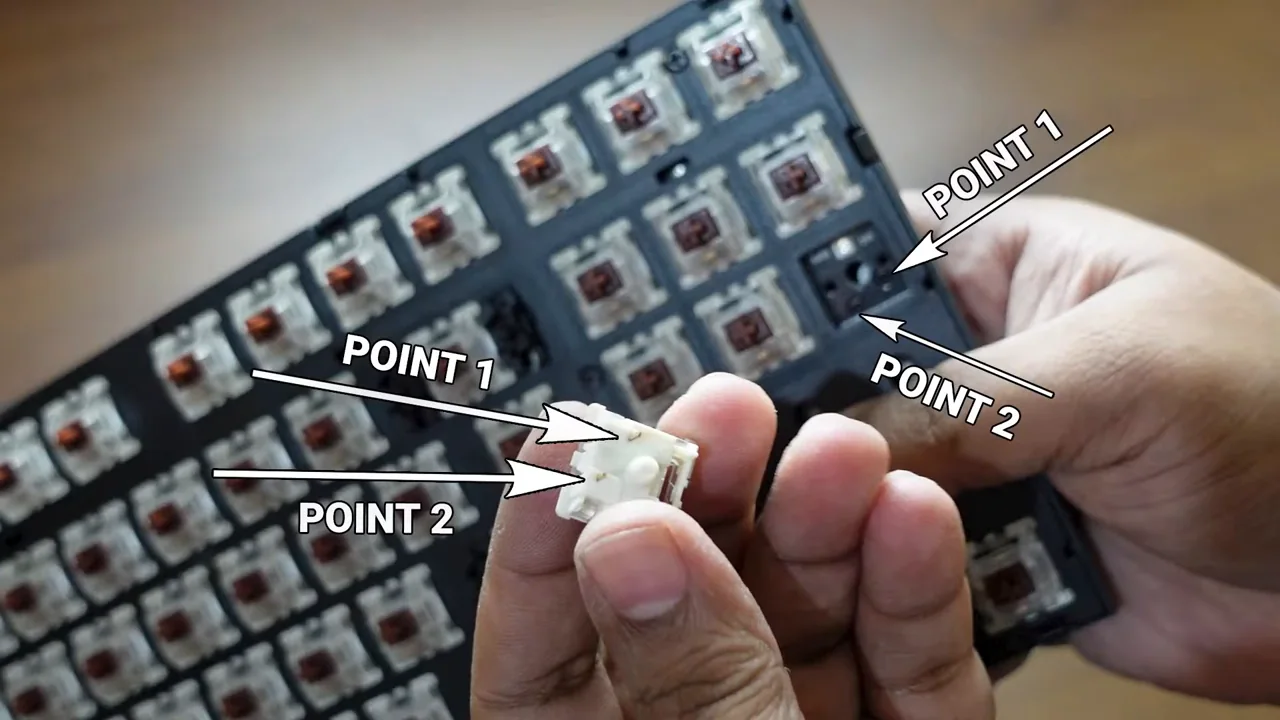
From my video at 1:56: Line up the pins with the sockets before pressing the switch in.
Test as you go
The keyboard keeps working with keycaps removed, so you can test each switch right after fitting it. Open a text editor, or an online keyboard tester, and press each new switch a few times. Fixing one bent pin straight away is much easier than hunting for it after you have swapped twenty switches.
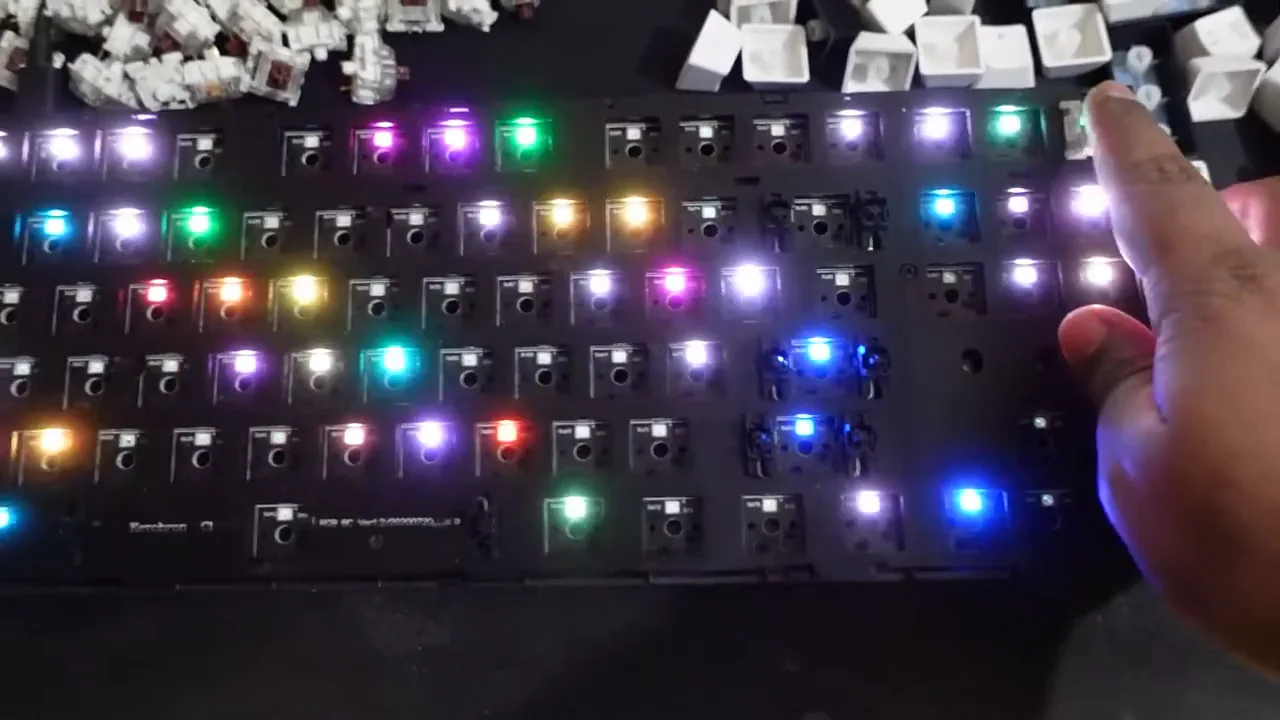
From my video at 2:47: Testing the board after the swap.
Common questions
Can I mix different switches on one keyboard?
Yes. Many people use a lighter switch on the letters and a heavier one on the space bar, or tactile switches for typing keys and linear switches for gaming keys.
Will swapping damage the sockets?
Not with normal use. Hot-swap sockets are made for it. Just press straight down and do not force a switch with bent pins.
How do I know if my keyboard is hot-swappable?
Check the product page or manual for “hot-swap”. Do not try pulling switches on a keyboard that is not, because its switches are soldered in.
Will every mechanical switch fit?
No. Most hot-swap boards take standard MX-style switches. Optical, magnetic (Hall effect) and low-profile switches use different sockets and only fit boards made for them.
The short version
Check whether your board takes 3-pin or 5-pin switches, pull the keycap, squeeze both clips with the switch puller and pull straight up. Straighten the pins on the new switch, line them up and press it in. Test each key as you go. That flexibility is the best part of a mechanical keyboard.
Precaution
Only attempt this on a confirmed hot-swappable keyboard. Forcing switches can damage sockets or the board.
Keep going