
How to Reset BIOS by Removing the CMOS Battery (Step-by-Step)
Follow the CMOS battery reset on my desktop, from disconnecting power and finding the coin cell to checking BIOS defaults and starting Windows.
 Mohammad Shojib AhmedUpdated · 7 min read · 3K views
 2:33 video
Key takeaway
Clearing CMOS restores the BIOS defaults. Disconnect the PC from power before removing the battery, then check the clock and any settings you need.
Tech tutorial · Desktop PCs · BIOS / CMOS
Changed a setting in your BIOS and now your desktop will not start normally? A CMOS reset may help you undo a bad firmware configuration without reinstalling Windows. In this guide, I will walk through the coin-cell battery method demonstrated in my video, from shutting down the PC to checking whether it starts again.
In that recording, the battery was hidden under the graphics card. I removed the card, took out the battery for about 10 minutes, and reinstalled it. When I entered BIOS again, the date had returned to an old default value; Windows then started successfully. Your motherboard may look different, and clearing CMOS cannot fix every boot problem.
Watch the original video: https://www.youtube.com/watch?v=wQ0_JrG_Lg0
What does clearing CMOS actually do?
The BIOS (or UEFI on newer computers) controls hardware settings used before Windows starts. A bad memory profile, overclock or boot configuration can make a working PC seem broken. Clearing CMOS is a way to restore firmware settings to their defaults on supported motherboards.
The small coin-cell battery helps maintain the motherboard's real-time clock and, on many designs, its saved configuration while the PC is unplugged. Removing it may reset the clock and settings. Modern boards do not all behave identically, so your motherboard manual remains the final authority.
Before opening the PC
- This is a desktop-motherboard procedure, not a universal laptop fix. Find your board manual and confirm where its CMOS battery is located.
- Switch off the computer and unplug it from wall power before reaching inside. Never open the power-supply unit itself.
- If you can still access Windows and use BitLocker or Device Encryption, locate your recovery key first. Firmware-setting changes can sometimes trigger a recovery prompt.
Step 1: Shut down and disconnect power
Shut down Windows normally if it is still responsive. If the PC is stuck, power it off using the case button as directed by your system manufacturer. Switch the power supply off, remove its power cable, and press the case power button once after disconnecting to help discharge residual power.
Move the case onto a stable surface. Remove the side panel and avoid touching motherboard contacts. Work carefully and follow anti-static precautions.
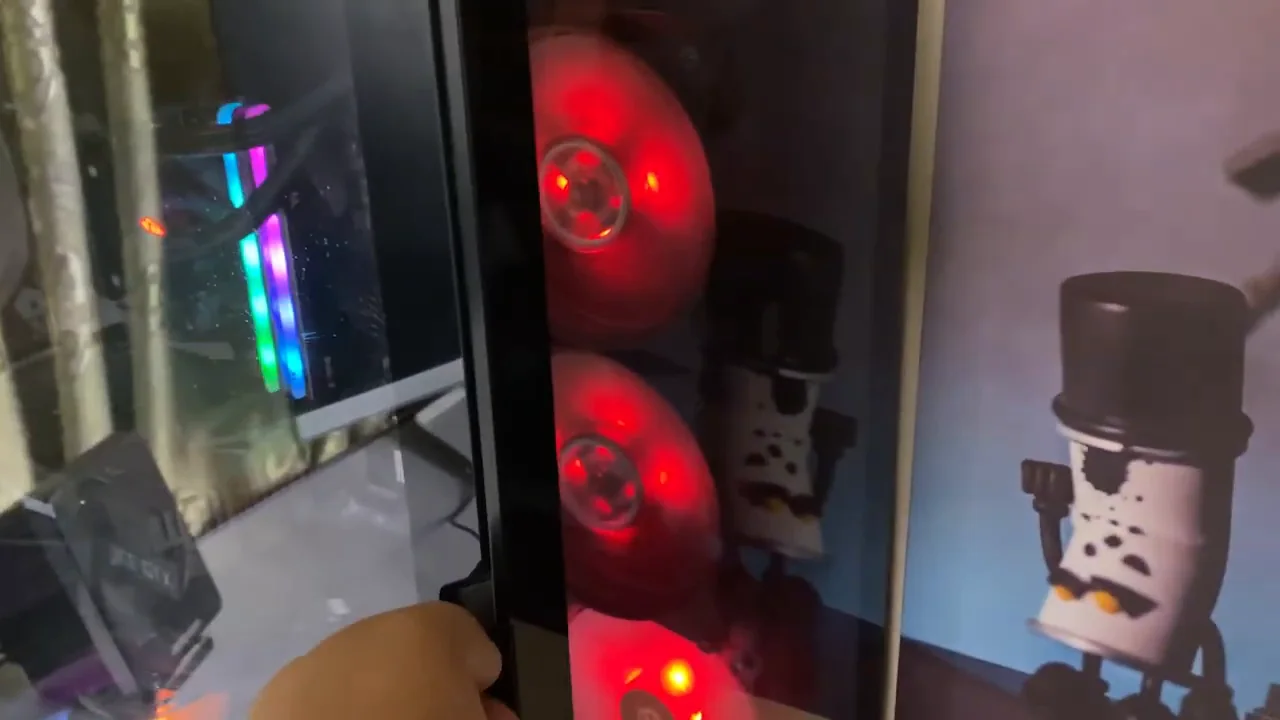
From my video at 0:35: Opening the side panel of my PC.
Step 2: Find the CMOS battery
Look for a round silver coin cell, usually a CR2032, sitting in a small holder on the motherboard. Its exact position depends on the model. In my video, the installed graphics card covered the battery, so I needed to remove that card for access.
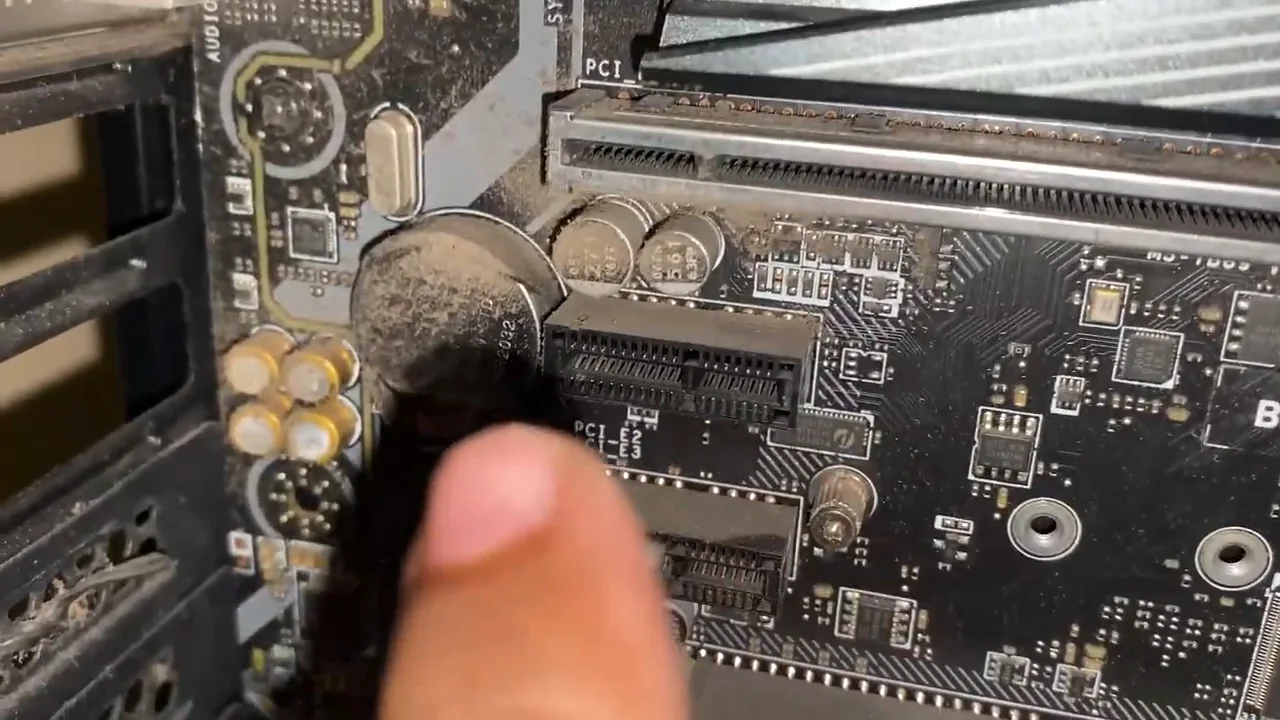
From my video at 1:00: The CMOS coin cell next to the top PCIe slot on my MSI B450M Mortar Max.
Step 3: Remove the graphics card only if necessary
If you can reach the battery safely, leave your graphics card installed. If it blocks access, disconnect any GPU power connectors, remove its case-bracket screws, release the PCIe-slot retaining latch, and carefully lift the card out while supporting its weight. Check your GPU and motherboard manuals rather than forcing a tight connector.
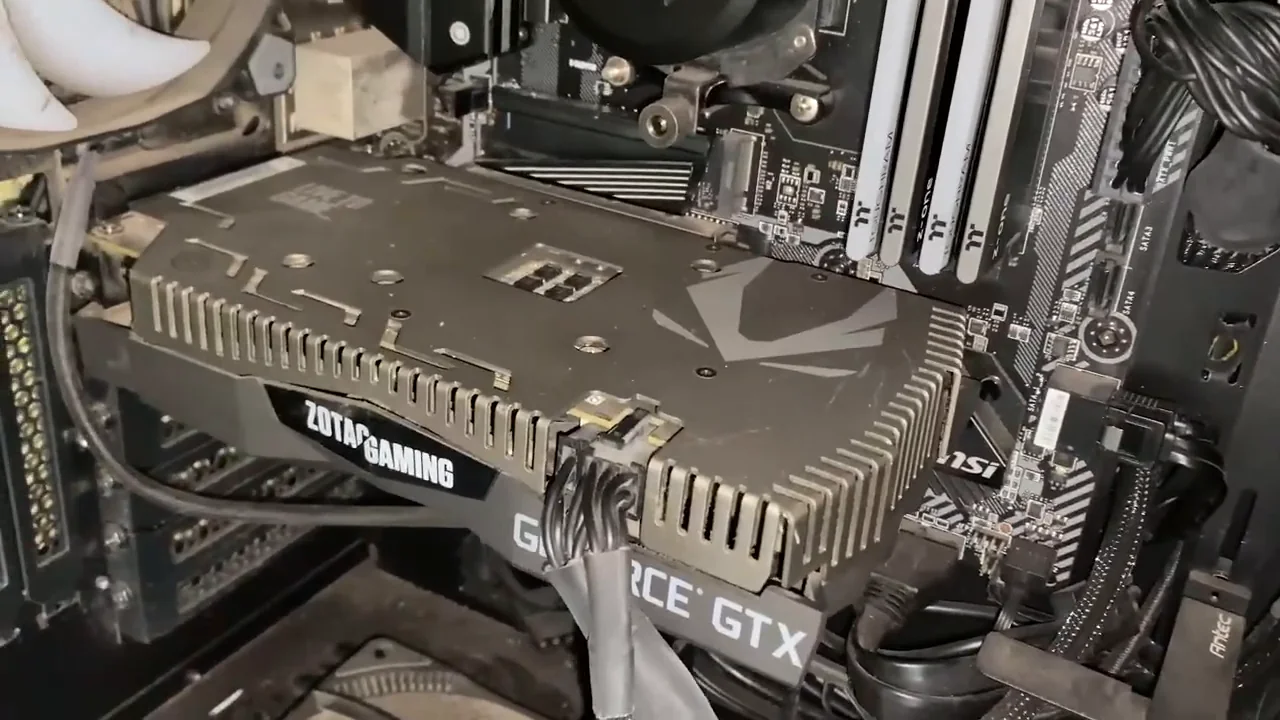
From my video at 0:42: The graphics card that covered the battery, before I removed it.
Step 4: Take out the battery and wait
Note which side of the battery faces outward. On many horizontal holders, the side marked with a plus sign faces up. Gently release the holder's small retaining clip and lift the coin cell free; do not pry against nearby circuits.
I left the battery out for around 10 minutes in the video. MSI documents shorter waits of about 3–5 minutes for some models. Follow the instructions for your own board; a long wait alone does not guarantee that its settings will reset.
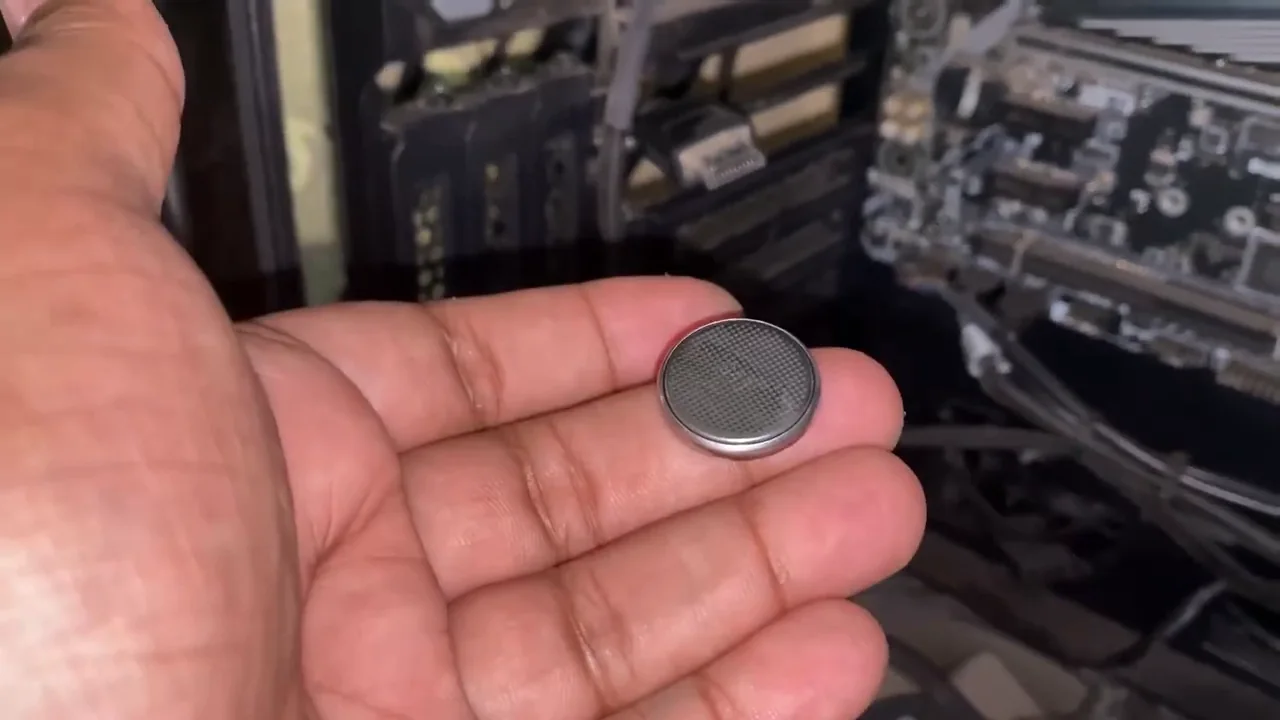
From my video at 1:25: The coin cell out of its holder.
Step 5: Reinstall the battery and reassemble
Place the battery back in the holder in its original orientation and make sure the retaining clip secures it. If you removed the graphics card, reinstall it fully into the PCIe slot, secure its mounting screws, reconnect its power cables, and check the display cable is connected to the correct video output.
Step 6: Turn on the PC and check the BIOS
Reconnect power and start the PC. Enter BIOS using the key shown by your manufacturer (commonly Delete or F2). You may see a message that defaults were loaded, or the system date and time may be wrong. In the original video, the BIOS displayed Monday, January 1, 2018 rather than the current date; that was a visible sign that the clock had reset on that PC.
A changed clock is a helpful clue, not the only test of a successful CMOS clear. If the firmware offers a load-defaults prompt, follow it, set the current date and time, and confirm the correct Windows boot entry before saving. Then try booting Windows. In my video, the desktop loaded normally after the reset.
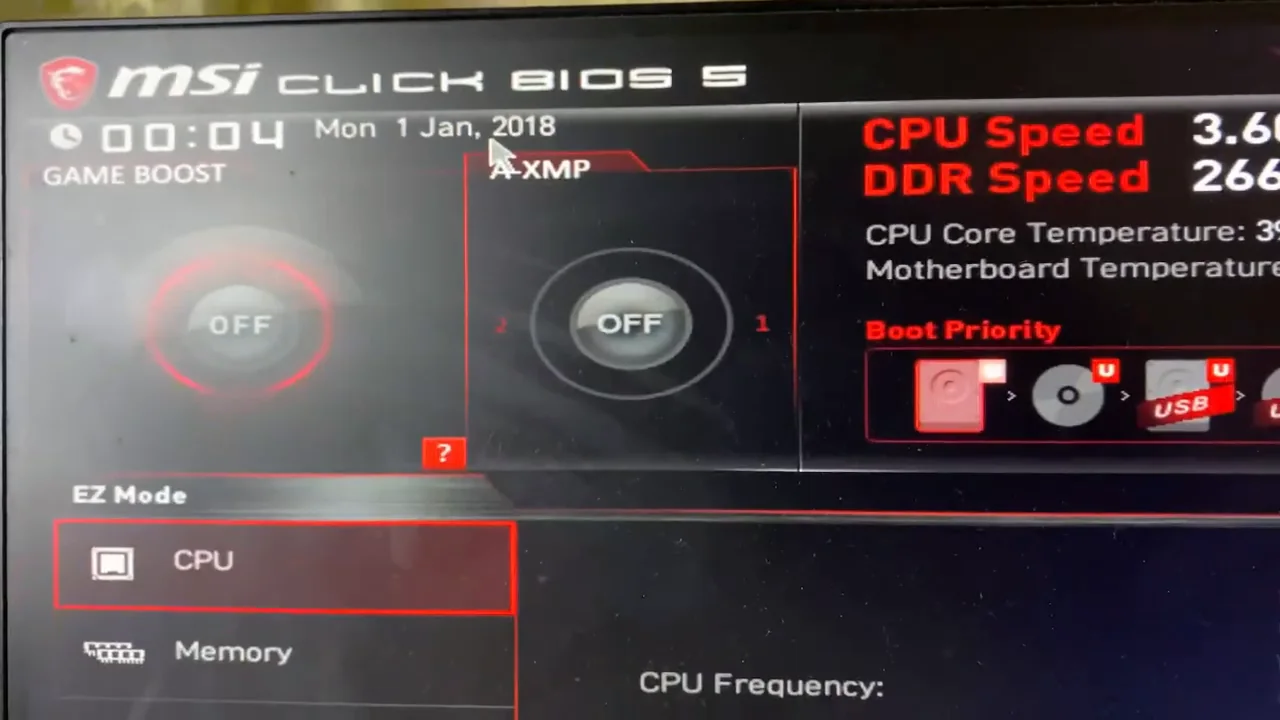
From my video at 1:50: After the reset the BIOS clock showed Mon 1 Jan 2018, a sign the CMOS was cleared.
What might need setting up again?
Clearing CMOS changes firmware settings; it does not erase the files stored on your SSD or hard drive. You may, however, need to check the boot order, memory profile (XMP/EXPO), fan settings, and security or storage settings that your PC relied on. Do not re-enable overclocking immediately if it may have caused the issue. On encrypted PCs, a change to firmware security settings can also lead to a BitLocker recovery-key request.
If your PC still does not boot
- Confirm that the graphics card is fully seated, its power cables are attached, and the monitor is connected to the correct video port.
- Check whether the Windows Boot Manager or correct startup drive is selected; do not randomly change SATA/RAID or security settings.
- If the reset did not appear to happen, use the exact Clear CMOS button or jumper method documented for your motherboard—not a guessed pair of pins.
- If the machine still shows no display, restarts endlessly, or reports a hardware error, investigate RAM, power, graphics, and other faults. A CMOS reset cannot repair damaged components.
Common questions
Will removing the CMOS battery delete Windows or my files?
No. The procedure targets motherboard firmware settings, not personal files on the storage drive. It can change how the system finds or unlocks the drive, though, which is why a recovery key and the correct boot settings can matter.
How long should the battery stay out?
The video demonstrates about 10 minutes. Some manufacturers specify just a few minutes. Use the wait time and reset instructions for your motherboard model.
Does it reset every BIOS password?
Not necessarily. Some boards protect firmware passwords separately. Do not rely on CMOS clearing as a guaranteed way to remove a password; follow the manufacturer's support process.
Why is Windows asking for my BitLocker key after the reset?
Changed firmware settings can trigger BitLocker recovery. Enter your recovery key from your Microsoft account, then set the boot options back to how they were. Do not clear the TPM or change partitions to get around it.
Related tutorials and references
If your Windows 11 security settings were affected, see the separate guides on TPM 2.0 and Secure Boot. For hardware-specific instructions, consult the motherboard manufacturer's support page.
Precaution
Only work inside a fully powered-off, unplugged desktop PC. Use your motherboard manual, avoid forcing the battery clip or GPU, and keep your BitLocker recovery key available. Clearing CMOS resets settings, but it is not guaranteed to fix every boot problem.
Tools & files from this guide
Keep going

