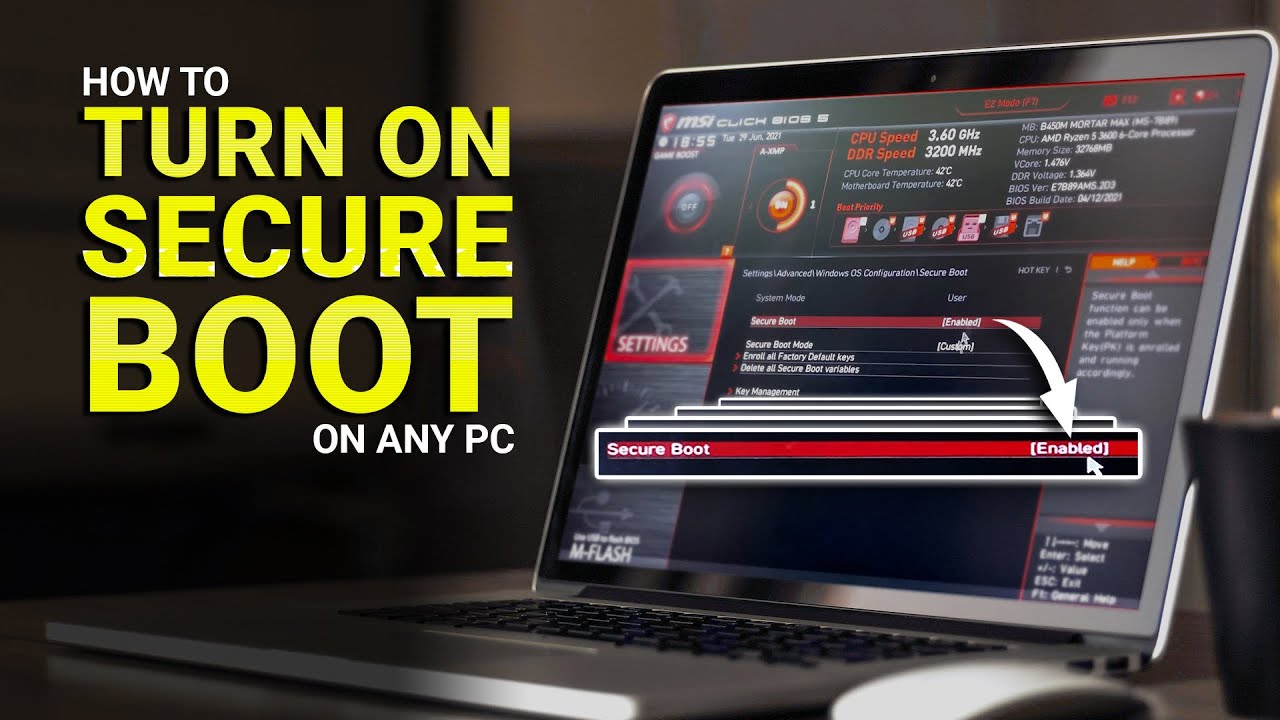
Secure Boot Is On but Windows Will Not Start? Here Is the Fix
Why your PC returns to the BIOS after enabling Secure Boot, how to confirm an MBR drive, and two ways to fix it, with or without keeping your files.
 Mohammad Shojib AhmedUpdated · 7 min read · 190K views
 3:13 video
Key takeaway
An MBR drive cannot boot with Secure Boot. Convert it to GPT and the boot loop stops.
You enable Secure Boot, restart, and instead of Windows you land back in the BIOS. Again and again. Turning Secure Boot off makes Windows start, but that is not a fix if you need Secure Boot for Windows 11 or for Valorant's Vanguard anti-cheat.
In my case the cause was a Windows install on an MBR drive, which cannot start once Secure Boot forces UEFI. That is the most common cause, but not the only one, so the steps below start with checks you can undo.
Why it happens
Secure Boot only works when the PC starts in UEFI mode. For a standard Windows installation booting in UEFI mode, the system disk normally uses GPT (GUID Partition Table). Older Windows installs often use MBR (Master Boot Record) instead.
When you turn on Secure Boot, the board switches to pure UEFI. A Windows install that was set up in Legacy mode on an MBR drive has no UEFI boot entry, so the board finds nothing it is allowed to start and sends you back to the BIOS. Windows is still there, untouched. The PC just cannot reach it in this mode. A missing boot entry or a changed boot order can cause the same loop, which is why Step 2 checks the drive first.
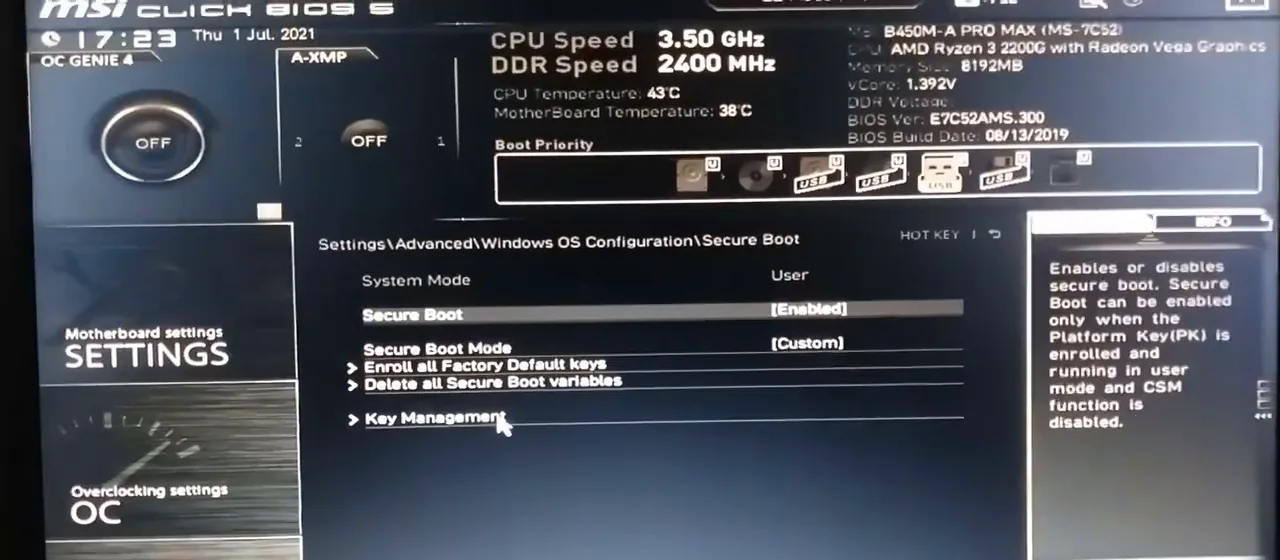
From my video at 0:05: Secure Boot enabled in the BIOS. After this, my PC restarted straight back into the BIOS instead of Windows.
Step 1: Get back into Windows
Open the BIOS and undo only the change you just made: turn Secure Boot off again, or set the boot mode back to CSM or Legacy, and save. This is what I did in the video, and Windows started normally again. It is the safe first step because nothing on the drive changes. You need to be in Windows to check the drive and to use Fix 1 below.
Step 2: Confirm the drive is MBR
- Right-click Start and open Disk Management.
- Right-click the disk Windows is on, usually Disk 0, and choose Properties.
- Open the Volumes tab and look at Partition style.
If it says Master Boot Record (MBR), that is almost certainly the cause, and the fixes below will solve it. If it already says GUID Partition Table (GPT), skip to the section on other causes.
Fix 1: Keep your files (recommended)
If Windows is already installed and you want to keep everything, convert the drive in place with Windows' own MBR2GPT tool. It rewrites the drive's map and is designed to keep your files, but back up first anyway. I walk through it step by step in how to convert MBR to GPT without data loss.
After the conversion, switch the BIOS to UEFI and check that Windows starts. Then enable Secure Boot again.
Fix 2: Only if you are reinstalling Windows anyway
Warning: this is not a repair. It is for a clean Windows install on a drive whose files you have already backed up or do not need. If you want to keep your current Windows and files, use Fix 1 instead.
In the second half of the video I showed this during Windows setup:
- Boot from your Windows USB. On the first setup screen, press Shift + F10 to open Command Prompt.
- Type
diskpartand press Enter, thenlist disk. Disks that already use GPT have an asterisk (*) in the Gpt column. Use the Size column to identify the drive you are installing to. - Type
select disk 2, using your own disk number. Double-check it: the next command acts on whichever disk is selected. - Type
convert gpt, thenlist diskagain to see the asterisk, thenexit. - Back in setup, click New on the drive and continue the installation.
convert gpt only works on a disk with no partitions. If it refuses, the simpler route is to let setup handle it: on the “Where do you want to install Windows?” screen, delete the partitions on that one drive (this erases it), select the unallocated space and click Next. When setup is started in UEFI mode, it creates a GPT layout by itself. If you are not sure which disk is which, stop and unplug the other drives first, or ask someone experienced.
Once Windows is installed on the GPT drive, enable Secure Boot and the PC will start normally.
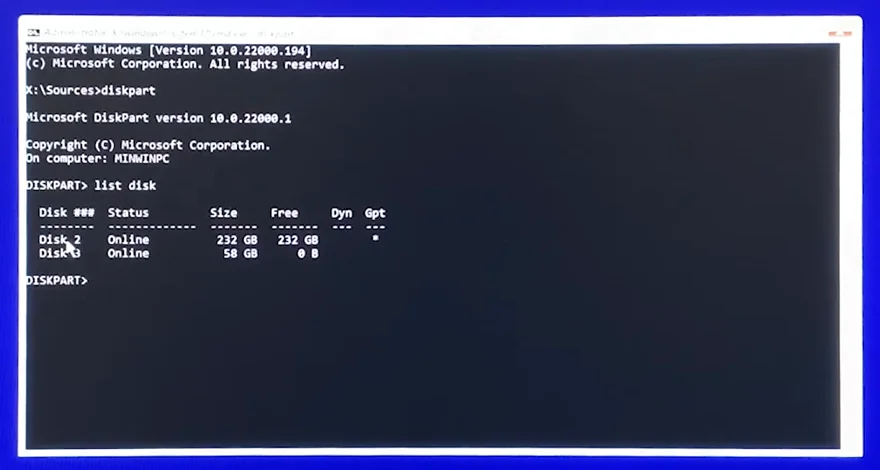
From my video at 1:32: In Windows Setup (Shift + F10): diskpart → list disk. A star in the Gpt column means the disk is already GPT.
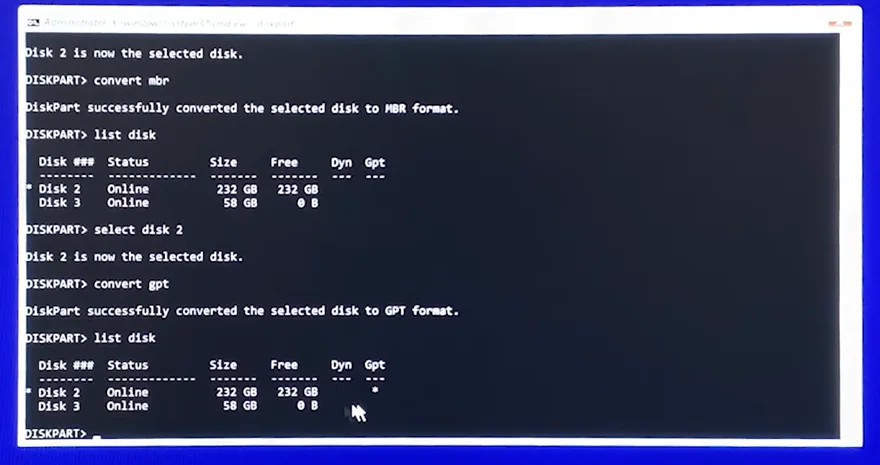
From my video at 2:35: select disk 2 → convert gpt, then list disk shows the star in the Gpt column.
Other causes if your drive is already GPT
- CSM is still on: some boards keep a legacy option active. Set the boot mode to UEFI only, or set CSM to Disabled.
- The Secure Boot keys are missing: choose Enroll all Factory Default Keys, or Install default keys, in the Secure Boot menu.
- The wrong boot entry is first: in the boot order, choose Windows Boot Manager, not the drive name on its own.
- A non-Windows boot device is attached: unplug USB drives and extra disks and try again.
- Still stuck? Turn Secure Boot off again so Windows starts, back up your files, and get help before trying anything that changes the drive. Changing a firmware setting is not guaranteed to restore Windows.
The short version
A PC that keeps returning to the BIOS after you enable Secure Boot usually has an MBR drive, but check first. Turn Secure Boot off to get into Windows, confirm the partition style, convert the drive to GPT with MBR2GPT, switch to UEFI and turn Secure Boot back on.
Official guidance: Microsoft: MBR2GPT · Microsoft: Windows recovery options
Precaution
Secure Boot and boot mode depend on the motherboard, installation, and storage layout. Back up first; avoid changing firmware settings without identifying the existing boot configuration.
Keep going